
IKEA is a glorious place, isn’t it?
A ginormous warehouse full of everything from art cards to sofas, salad spinners to comforters, the blue and yellow wonder has always appealed to my love of knick knacks and randomness. Unfortunately, or fortunately as may be the case, I cannot afford to bring every little piece home to my compact Victorian. Of course there was that one time I proved to have eyes too big for the iconic blue shopper and succumbed to literally dragging my pirate’s hoard up 8th Avenue in Manhattan to my even tinier one bedroom NYC barbell apartment, but that’s a story for another time…
My favorite finds at IKEA often are the ones that immediately inspire those beautiful DIY feelings. When I can see the muse’s face shining back at me from under the florescent warehouse lighting, I know I’ve hit upon a winner. Enter the infamous $1 mug. It comes in many colours, but white always seems to hold the most promise. A true blank slate, I immediately picture myself painting on them, Sharpie-ing them, and in this case, trying out something completely different.
I now introduce to you, The Minute Mug.
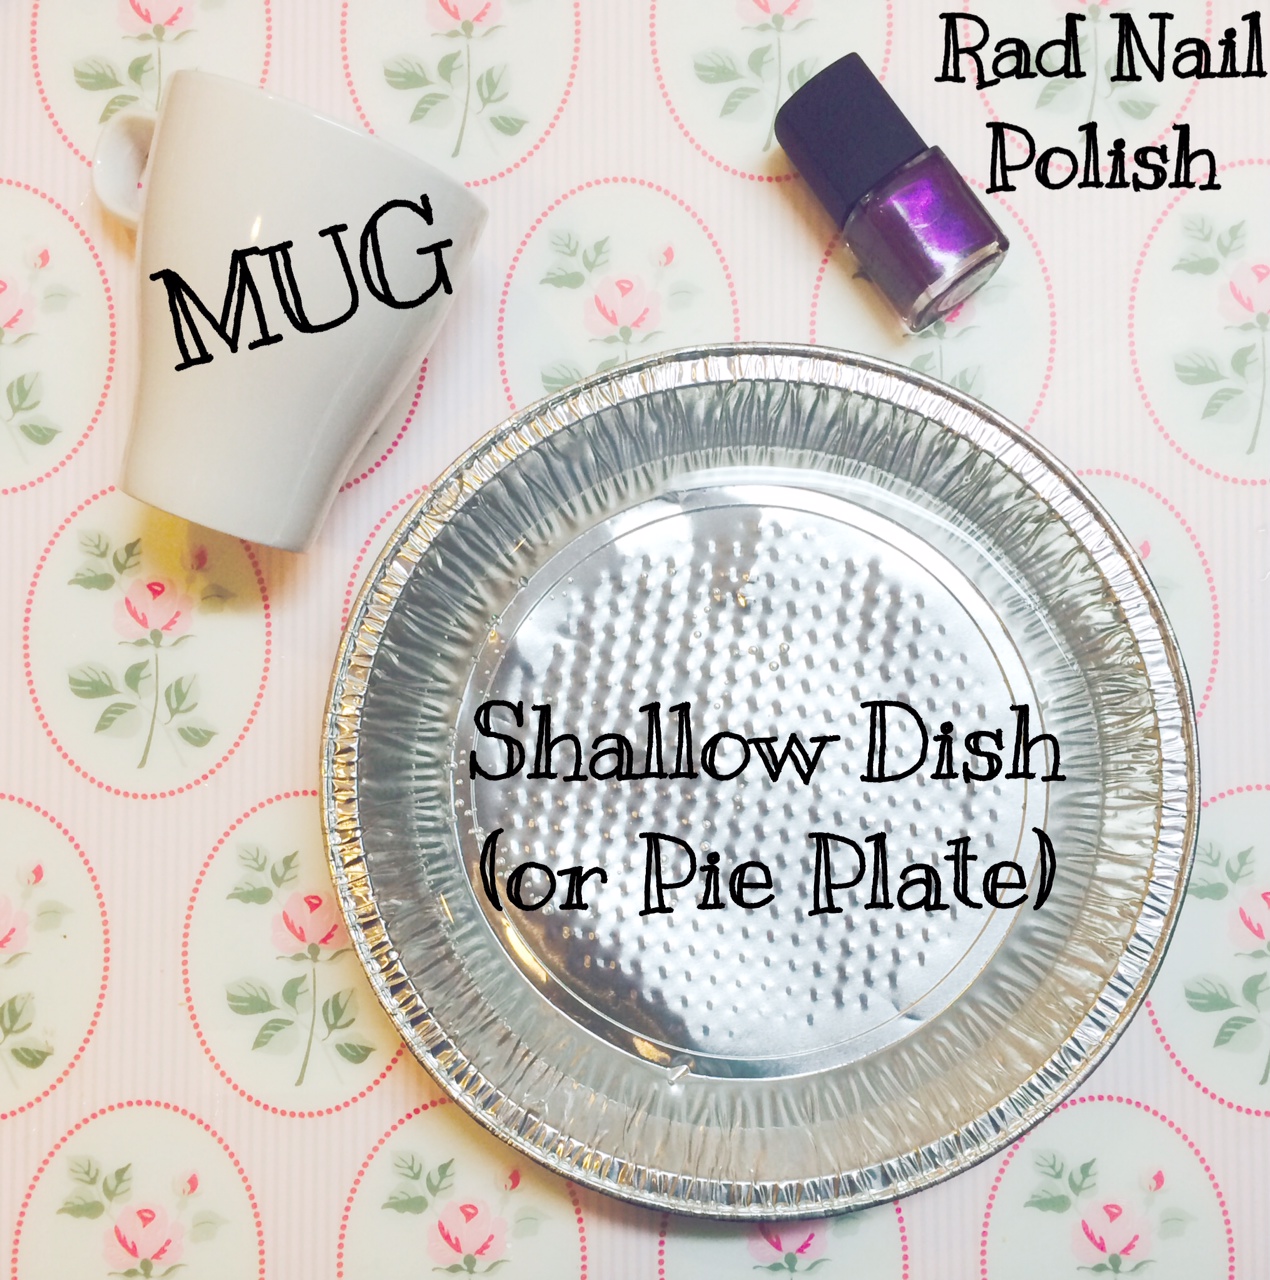
To create the watercolour effect on this mug, you need only two things (other than the mug of course): a shallow dish (or as I used here, a disposable pie plate) of warm water and nail polish. Yes, you read that correctly, NAIL POLISH.
Now, if you’ve ever had the pleasure of losing hours of your life on Pinterest, you will most likely have seen a DIY project explaining how to marble a manicure. This is the same concept.
Place a drop of nail polish onto the surface of the warm water.

In most cases, the polish will spread out, tinting the water. At this point, if you dip your mug onto the surface, cutting through it a bit, and slowly draw it back up, a film will hang off of your mug.
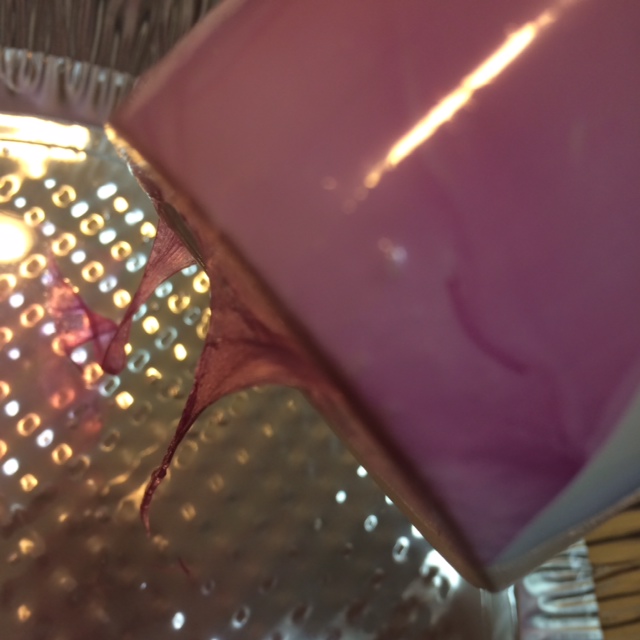
DO NOT FREAK OUT. (I did, of course.) You haven’t done anything wrong; on the contrary, this is where the fun part begins. The film will cling to the mug, but you do have a bit of control as to how it ends up looking. Try picking the hanging film up and draping it over parts of the mug. Break off the film. Drag your finger over the film. So many options, so little time needed to try them all!
The best part of all may be that if you make a mistake or if you just want to erase some parts or place negative detailing in, all you need is nail polish remover and a dream! I would recommend hand washing these mugs, taking care not to scrub the surface too harshly. (Be cognizant of keeping the colouring to the outside. Also, rinse/wash thoroughly before use, especially if you have used remover, even if just on the outside. You can never be too careful!)
Livening up tea time one mug at a time,
Jen

Omomom OMG. Cool!
Best wishes,
Akino.